A&D Precision Balance Quick Calibration Guide
Proper calibration ensures your A&D precision balance maintains maximum accuracy. This guide covers the standard external calibration procedure applicable to most A&D analytical and precision models.
Pre-Calibration Checklist:
1.) Warm-up: Ensure the balance has been plugged in and turned on for at least 30 to 60 minutes.
2.) Environment: Place the scale on a stable, vibration-free surface away from direct sunlight, drafts, or HVAC vents.
3.) Leveling: Check the spirit level bubble. Adjust the leveling feet until the bubble is perfectly centered.
4.) Calibration Mass: Prepare an OIML Class E2 or F1 calibration weight that matches the scale's capacity.
External Calibration Procedure:
1.) Enter Calibration Mode: Press and hold the [CAL] key until 'CALout' appears on the display, then release.
2.) Zero the Balance: The display will show 'CAL 0'. Ensure the weighing pan is empty and the breeze break doors are closed.
3.) Confirm Zero: Press the [PRINT] or [ENTER] key.
4.) Apply the Weight: The display will show the required calibration mass value (e.g., 100.000 g). Place the exact requested calibration weight onto the center of the pan.
5.) Confirm Weight: Press the [PRINT] or [ENTER] key.
6.) Completion: The display will show 'END'. Remove the calibration weight. The balance will automatically return to weighing mode.
Note on Internal Calibration (GX/HR-A Models):
If your A&D model features an internal calibration mass, ensure the pan is empty, close the breeze break, and press the [CAL] key once. The balance will automatically complete the sequence.
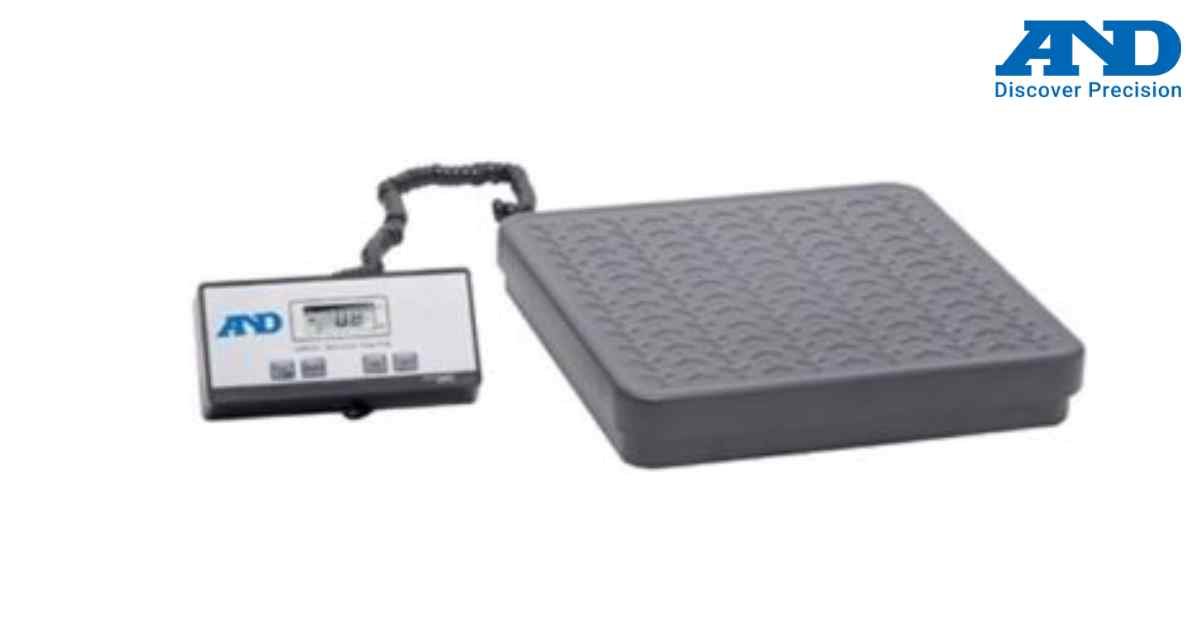
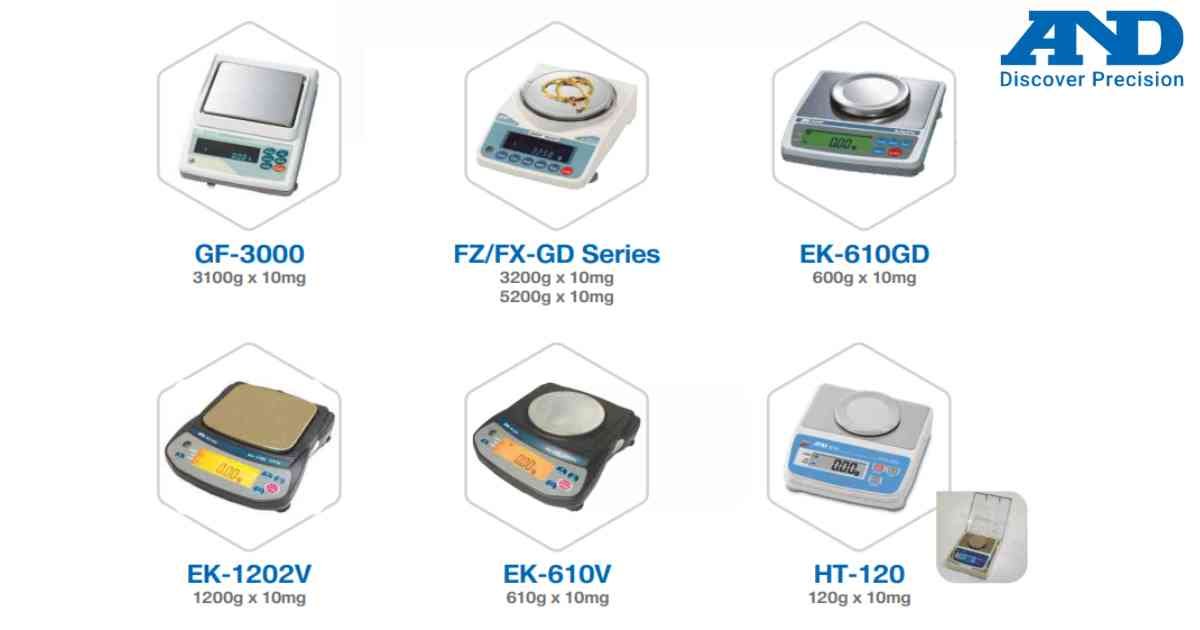
Looking for a new weighing machine?
Upgrade your operations with our latest high-precision scales. We offer a wide catalog of reliable and certified machines.
Related Calibration Guides